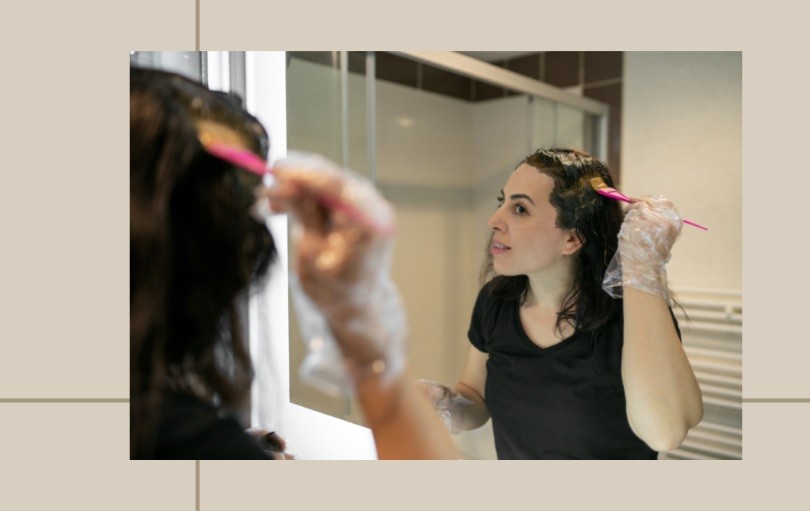
Dyeing your hair at home can seem daunting, but with the right tools and some preparation, it can be a fun and affordable way to change your look. With a variety of hair dye options available, from temporary rinses to permanent dyes, you can easily find the right product for your needs. In this article, we’ll provide you with everything you need to know about how to safely and effectively dye your hair at home safely and effectively.
Materials Needed
- Hair dye
- Gloves
- Brush or comb
- Bowl for mixing dye
- Old towel or cape to protect clothing
- Shampoo and conditioner
Choosing the Right Hair Dye
Before you begin, choosing the right hair dye for your needs is important. Consider the following factors when selecting your hair dye:
- Hair type and texture
- Current hair color
- Desired end result
- Chemical sensitivities
Permanent hair dye is the most popular choice for long-lasting color. If you’re looking to cover gray hair, or make a drastic change, permanent hair dye is the way to go. If you’re unsure about a specific color, try a semi-permanent hair dye or a temporary rinse first.
Preparation
Before you begin, preparing yourself and your hair for the dyeing process is important. Here’s what you need to do:
- Protect your clothing by draping an old towel or cape around your shoulders.
- Wear gloves to protect your hands from the dye.
- Brush or comb your hair to remove any tangles.
- Shampoo your hair to remove any buildup and oils that could interfere with the dye. Do not condition your hair, as this will create a barrier that can prevent the dye from penetrating.
Mixing the Hair Dye
Next, it’s time to mix the hair dye. Follow the instructions on the box, as the mixing process may vary depending on the product. Usually, you will need to mix the hair dye and developer in a bowl. Make sure to mix thoroughly to ensure an even color.
Applying the Hair Dye
Now it’s time to apply the hair dye to your hair. Follow these steps to ensure even coverage:
- Start at the roots and work your way down to the ends.
- Part your hair into sections to make it easier to apply the dye evenly.
- Use a brush or comb to smooth the dye through each section of hair.
- Make sure to cover all your hair, including the roots, for an even color result.
Processing Time
Once the dye has been applied, it’s time to let it process. The processing time will vary depending on the product, typically between 20-45 minutes. Follow the instructions on the box for the recommended processing time. Do not exceed the recommended processing time, as this could damage your hair.
Rinsing and Conditioning
Once the processing time has passed, it’s time to rinse the hair dye out of your hair. Use lukewarm water to rinse your hair thoroughly. Remove all of the dye, as any residue can cause irritation and itching.
After rinsing, it’s important to condition your hair. This will help to restore moisture to your hair and prevent damage from the hair dye. Use a deep conditioner and leave it on for 5-10 minutes before rinsing with lukewarm water.
Styling and Maintenance
Once you’ve finished the dyeing process, you’ll want to style your hair as you normally would. However, it’s important to avoid using heat tools, such as a flat iron or curling iron, for at least 48 hours after dyeing. This will give your hair time to absorb the dye and prevent damage fully.
To maintain your new hair color, it’s important to follow a few simple steps. First, use a color-safe shampoo and conditioner to prevent fading. You may also consider using a weekly hair mask or treatment to keep your hair healthy and vibrant. Additionally, it’s a good idea to limit your exposure to the sun and chlorine, as these can cause fading and damage.
Conclusion
Dyeing your hair at home can be a fun and affordable way to change your look. You can achieve beautiful, long-lasting results with the right tools and preparation. Just be sure to follow the steps outlined in this article to ensure safe and effective results. With a little care and attention, you can enjoy your new hair color for weeks.

